
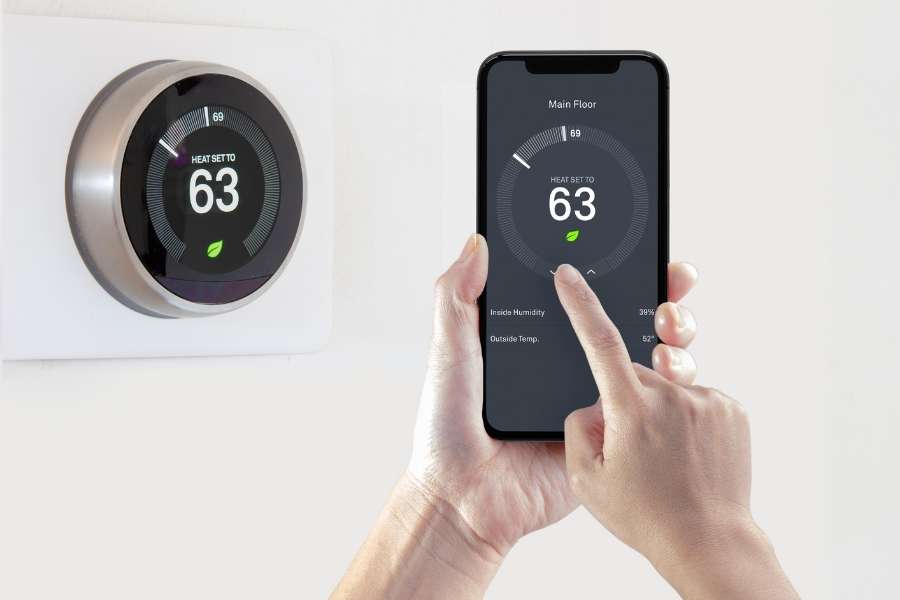
Do you want to cut your monthly energy bills without freezing during cold winter months? Installing a smart thermostat solves this problem in less than an hour. This small connected device optimizes your indoor comfort and stops heating empty rooms when you are away.
Evaluating System Compatibility Before You Begin
Before buying new hardware, you must verify your existing home installation. Most modern houses use low-voltage 24-volt electrical systems. Older high-voltage electric heating systems running at 120V or 240V are not directly compatible with standard units. If you are also planning upcoming home renovations, learning about bathroom floor tiles how to choose can help you coordinate your design project smoothly.
It is essential to learn how to check if your heating system is compatible with smart thermostats before touching any wires. First, turn off the main circuit breaker for your furnace or air handler. Next, remove the front faceplate of your old unit to inspect the internal wiring. If you see thick wires joined with wire nuts, you have a high-voltage system that requires specialized controls.
Decoding Your Existing Control Wires
Thin, multi-colored low-voltage wires connected to lettered terminals confirm that your setup is compatible. Standard 24V installations use universal letter designations to manage each operational function across your equipment.
This handy table helps you identify each terminal wire quickly during your inspection:
| Terminal | Common Wire Color | System Function |
| R / Rc / Rh | Red | Primary 24V main power supply |
| C | Blue / Black | Common wire for continuous 24V power |
| W / W1 | White | Primary heating system signal |
| Y / Y1 | Yellow | Primary cooling compressor signal |
| G | Green | Blower fan control signal |
| O / B | Orange / Dark Blue | Reversing valve signal for heat pumps |
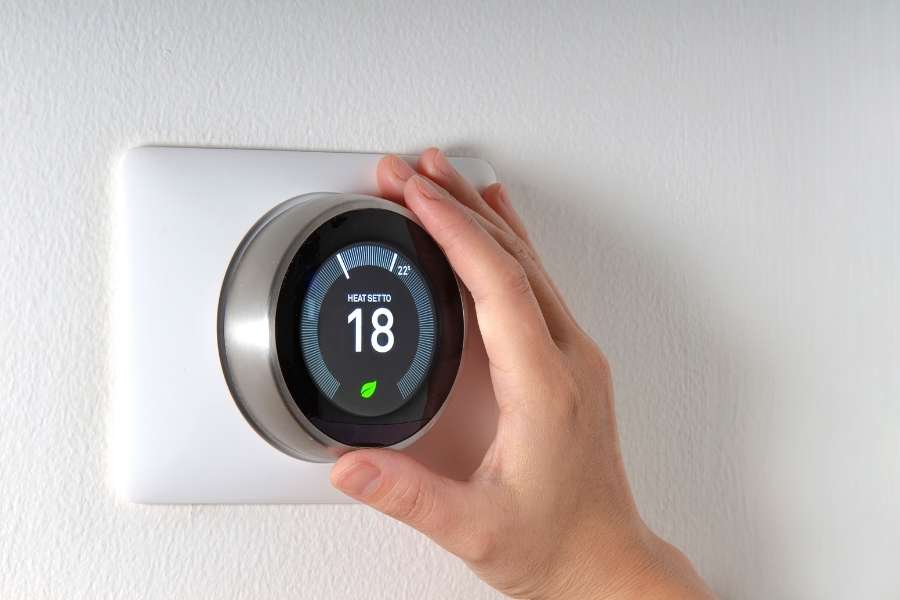
Tools and Equipment Needed for Installation
Having the correct tools nearby saves time and avoids frustrating delays. Manufacturers usually include basic mounting screws and drywall anchors inside the box. A few standard hand tools from your toolbox are enough to complete the setup safely. While updating your interior tech, you can also explore ideas for outdoor living like this guide on deck terrace outdoor recliner styling to improve your patio relaxation area.
Here is the list of essential tools you need to gather:
- One Phillips head screwdriver and one small flathead screwdriver
- A battery drill with a small bit for wall anchors
- A small bubble level to align the backplate straight
- Masking tape and a marker to label individual wires
- A smartphone equipped with the official mobile app
- A simple voltage tester to verify power is off
step by step guide to wiring a smart thermostat
Safety remains the top priority when working on household electrical systems. Go directly to your main circuit breaker panel. Shut off the electrical breakers supplying power to your furnace, blower fan, and air conditioner. Never rely solely on turning the device off at the interface, because low voltage can still flow through internal control boards.
Follow these simple steps to complete your installation successfully.
Step 1: Turn Off Power and Remove the Old Controller
Remove the front plate from your existing unit to view the internal terminal block. Turn up the setpoint temperature to trigger a call for heating. If the blower fan does not start running, power is safely shut off.
Take a clear phone photo of the existing wire connections for reference. Wrap a piece of masking tape around every individual wire. Write down the matching terminal letter on each tape label before disconnecting anything. Unscrew the old mounting plate carefully from the wall surface.
Step 2: Mount the New Backplate Securely
Thread the labeled low-voltage wires through the central hole of the new plate. Use the included trim plate cover if your old controller left unpainted wall patches or screw marks. This cover hides wall imperfections without requiring fresh touch-up paint.
Hold the backplate flat against your drywall. Check the vertical alignment using your bubble level to ensure it sits perfectly straight. Mark the mounting holes using a sharp pencil. Insert drywall anchors into your marks, then drive the mounting screws firmly home.
Step 3: Connect Each Wire to Its Terminal
Insert every bare copper conductor into its corresponding terminal slot on the plate. Push down on the terminal release tab firmly. Slide the copper wire end in and release the spring tab to secure it.
The wire remains firmly locked inside the terminal housing once released. Make sure no exposed copper extends beyond the slot entry point. This careful positioning prevents electrical short circuits between adjacent terminal blocks.
Step 4: Understanding the Common Wire (C-Wire) Connection
Older manual dials operated using internal AA batteries for basic functions. Modern digital screens require continuous power draw to maintain persistent Wi-Fi network connections. This steady 24-volt power circuit depends on the C wire, known as the Common wire.
Does your existing wall wire bundle lack a dedicated C wire? Three practical solutions exist to fix this power issue easily:
- Check inside the wall cavity for an unused spare wire.
- Install a C-wire power adapter inside your HVAC system cabinet.
- Connect an external plug-in 24V transformer to a wall outlet.
Initial Setup, Wi-Fi Pairing, and App Configuration
Snap the main digital display unit onto its mounted wall baseplate. Head back to your electrical breaker panel and restore power to your heating equipment. The display screen will light up after a short boot sequence.
Download the official manufacturer application onto your smartphone or tablet. Connect your phone to your local 2.4 GHz home Wi-Fi network. Smart home controllers rely on this specific wireless frequency for initial device pairing.
Follow the step-by-step setup prompts displayed inside your phone application. Select your heating equipment type, such as gas, electric, or heat pump. The application runs an automated diagnostic routine to test fan, heating, and cooling responses independently.
Lowering Utility Expenses with Recommended Schedules
Your hardware is now safely installed on your living room wall. Real monthly bill savings come from configuring your automated temperature schedule. Operating a modern smart home controller prevents heating or cooling an empty house unnecessarily.
Scheduling your heating and cooling runtimes reduces physical stress on your furnace. You maintain peak thermal comfort while avoiding wasted electrical power year-round.
Seasonal Temperature Guidelines for Maximum Savings
Lowering your indoor temperature setting by 7 to 10 degrees Fahrenheit for eight hours daily saves up to 10% on heating bills. This simple behavioral adjustment yields impressive financial returns across all winter months.
Apply recommended comfort thresholds to optimize your runtime cycles automatically. Implement the best energy saving temperature settings for winter and summer performance.
| Season | Operational Mode | Occupied Temperature | Sleep or Unoccupied Temperature |
| Winter | Heating | 68°F (20°C) | 62°F – 65°F (16°C – 18°C) |
| Summer | Cooling | 78°F (25°C) | 82°F – 85°F (28°C – 29°C) |
Advanced Software Features to Cut Energy Usage
Enable builtin automated software features to lower monthly operating expenses without sacrificing daily family comfort:
- Geofencing detects your physical distance using smartphone location sensors, switching system modes to eco automatically when you leave.
- Smart recovery calculates how long your furnace needs to reach target setpoints, starting cycles efficiently without pulling peak power.
- Humidity sensors monitor ambient moisture levels inside living areas, because drier air feels naturally cooler during hot summer months.
- Time-of-use scheduling coordinates runtimes with local energy providers, avoiding high electricity tariff periods during peak afternoon hours.
FAQ
Why is my smart thermostat screen blank after installation?
A blank screen usually points to a missing 24V power connection. First, check if your circuit breaker tripped during installation work. Next, check the furnace access panel door. This safety panel cuts control power completely if left slightly open. Finally, inspect your thermostat wiring at the R and C terminals. A loose wire prevents the display from turning on properly. Learning how to troubleshoot a blank smart thermostat screen helps you locate blown fuses or loose connections quickly.
Is a C-wire mandatory for every smart thermostat?
Some hardware models claim to operate without a C-wire using power stealing. However, having a dedicated common wire is strongly recommended for reliability. Alternative power methods can cause Wi-Fi dropouts or sudden system restarts during severe cold weather.
How much money can I actually save on my monthly utility bills?
Independent energy studies confirm average savings of 10% to 12% on heating. Operational cooling savings reach up to 15% during summer months. These combined utility savings offset the initial device hardware cost within 12 to 18 months.
Can I control my thermostat remotely through a mobile app?
An active home Wi-Fi network gives you full digital control from anywhere worldwide. Use your smartphone mobile app to adjust setpoints or monitor real-time energy usage. The app also sends mobile alerts if household temperatures drop to dangerous freeze levels.
